Tuesday, January 13, 2009

New Fork built and disaster with the brake bridge...

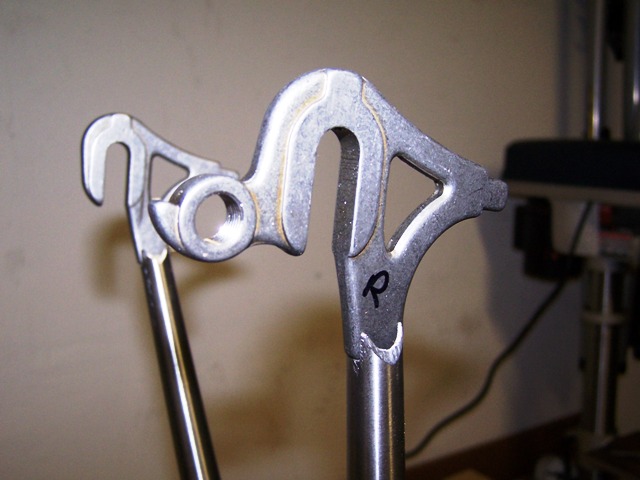
After making a paper weight out of the 1st fork I decided to rebuild it instead of just leaving it, so I reheated and pulled the fork legs and cleaned and preped the crown for a new set. On this one istead of using outside plug drop outs I am using the standard drop to match the rear drop outs.

This time around I went way farther with the my measuring, alignment and prep of the fork legs. Trying really hard to make sure everything is going to be straight and square, the pictures below show a little of my new process.

You can see the center line of the leg so I will be able to align it with the crown.


Nice and straight and ready to be brazed...


This is after a quick soak to remove the flux, I used some some brass brazing rod that came with my 1st map gas kit... it works pretty well.


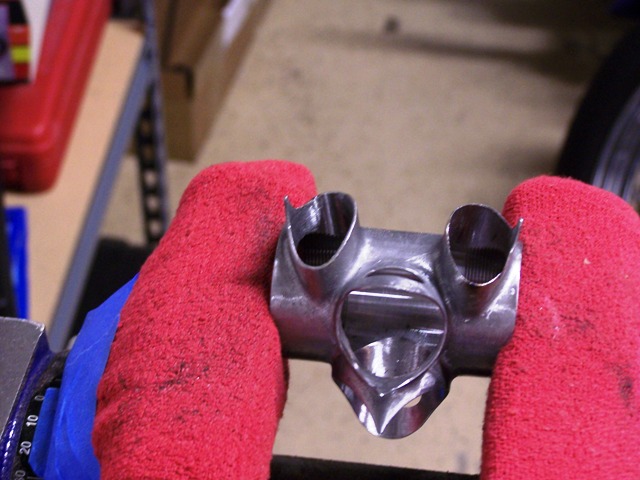
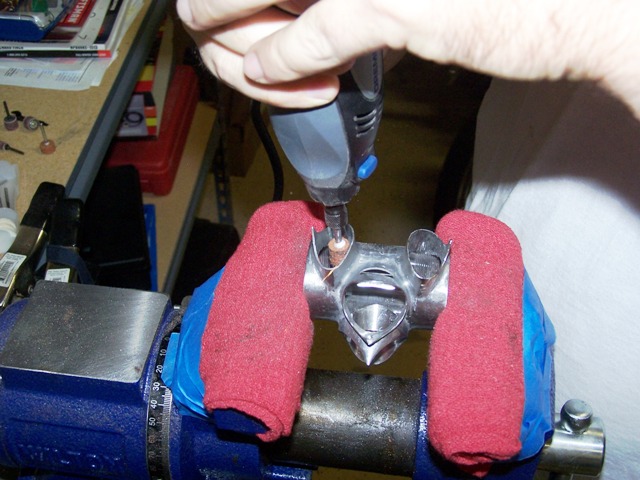
After some quick filing, I tried a little different cut on the fork end. I am still messing around with fork end cuts to see how they look after filing and how hard it is to clean and finish. This style is a pain because I have to get in with the dremel where as the straight solid angle I did on the rear drops is all file and very little dremel work, which is cheaper and quicker.


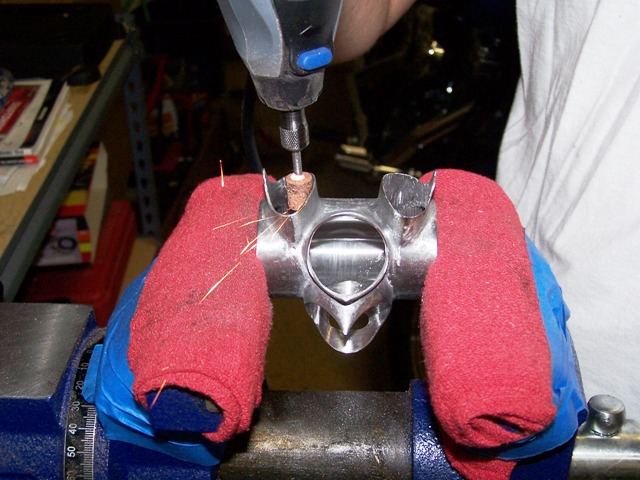
This is after the dremel work and using the abrasive wheels that cost 2 bucks a pop and they only last long enough to finishe one or two lugs... Expensive!


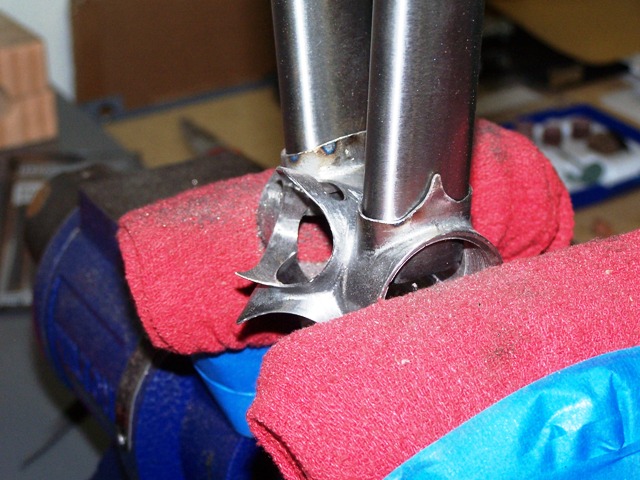
If you look close in this picture you can see the old fork leg I pulled out sitting there , I will probably cut it open to look at my brazing.
I am checking to see if a jig idea will work here, it ended up being a great way to do the fork (next picture) I have decided to not build big bulky complex jigs but ones that I can peice together and won't take to long to set up.


The setup here was quick and almost to easy, I am checking every angle for square and level. You can see I have a nice square flat piece of steel with a center line on it, the v-blocks are centered on that sto make a nice straight line for the rest of the jig.

Now checking for the crown to be level and square, after this I inserted the fork legs with a dummy axle and pulled the angles from the drawing to make sure I will have the correct rake angle.


Once I had everything set up and checked many times for square and straight I fluxed the crown to tack it into place.


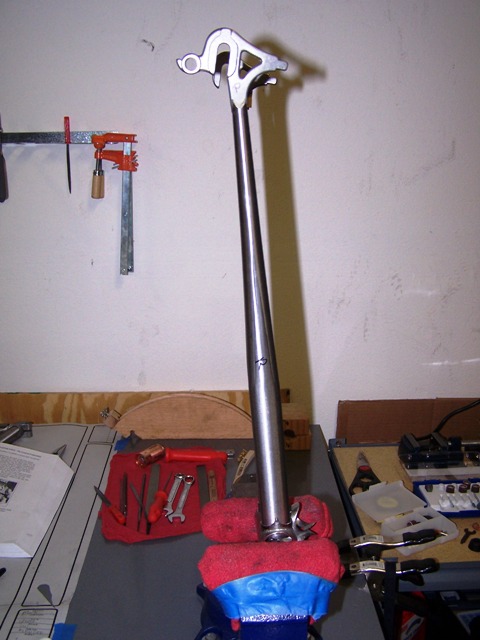
After I tacked them into place I pulled it out and put it in the vice vertically to make it much easier to braze. It ended up being almost perfect with a wheel in it after I was done brazing, I will have some pictures of the filing later.


Now for the brake bridge, even though I thought I had it straight and square... it wasn't.


You can see here that I had some marks on the stays to make sure it was in place but once I started brazing it all went wrong. The jig didn't hold the piece in place so it ended up being low on the left side and poorly brazed. So last night I reheated and removed it, I will have some pictures tomorrow of that and how the new brake bridge looks.


Monday, January 12, 2009

Wow this is getting fun...

Well I got a lot done this weekend, I finished the rear triangle and a new fork as well as getting started on the brake bridge (more on that tomorrow)

Above is my jig to keep the rear triangle in place while I tack it and cut and prep the seat stays.

This basic jig made it easy to lay the frame on the drawing and pull the alignment measurements up off the drawing.

getting ready to cut the seat stays


almost done with the filing.


finish filed


Here is the seat stay fitted and almost ready to braze.


Both Seat stays ready for brazing, but next is the seat stay ends at the top tube


Both Seat stays cut to length

Fitting the cap to the seat stay.


So while I was brazing the cap to the seat stay I tacked the chain stays in place... not the greatest tack but it worked.


After brazing the cap and a little triming on the grinder.


Just about to file it down.


Fitted up after filing and sanding... they aren't perfectly square but I am happy with it.


You can see in this picture the left cap is just a little bit bigger than the right... that is haunting me now.


Now I am brazing up the rear triangle after a few checks to the drawing for accuracy and to make sure I have the right BB drop.


Well after all the overly simple jigs and what not the rear triangle came out pretty straight and square, I had one slight mistake. It seems that the rear wheel is just slightly out of square so the by about a mm at the rim. So the brake bridge is going to be slightly off center but I will see what i can do.
I will have more pictures of the new fork and brake bridge tomorrow.


Tuesday, January 6, 2009

Now for the rear triangle... again!

Ok so I am taking my time with the rear because I want it to be dead straight... so after plenty of measuring and checking I cut the chain stays down to fit them for the miter tracing;

This is the tracing of the inside miter cut and a line of the lug point for reference when I check the fit.


The dremel rough cut.


After breaking off the rough cut.


Getting ready to file.


After a quick file, you can see I need to shape the points of the miter a little more and then it will be done.


Now it is a good fit that will not interfere with the BB threads, although I will still need to cut the threads to shape a little with my new BB tap and chase tools.


Here they are all mitered and fitted for the next step of jiging them up to get everything nice and square.
I will be working on the jig tonight to get this ready for brazing.

Getting closer...

So I took a few pictures of the front triangle to show how far I am;

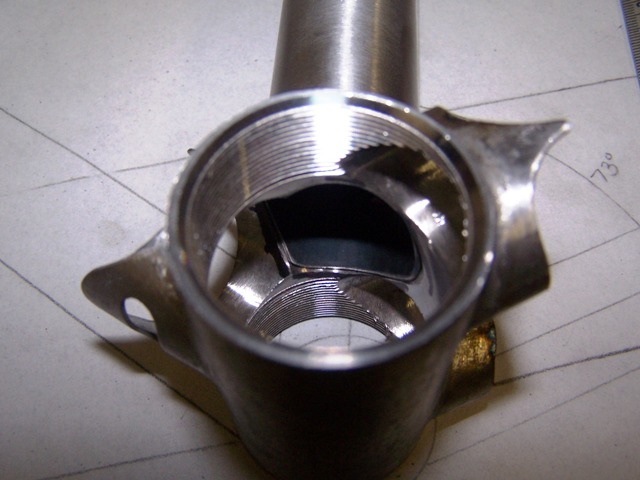
The Bottom Bracket is looking good, am waiting to clean it up after I braze in the chain stays.


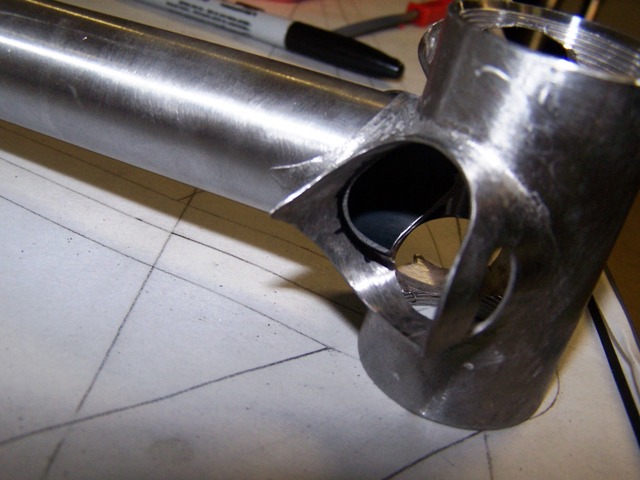
I am pretty happy with the brake cable internal routing.


I think I am pretty happy with it so far, I know there is a lot I can do better on the next one but this isn't bad.

The lessons I am learning are amazing and really fun to work out...

The pictures below are the work I did last night, finished grinding the bottom bracket sockets.
Notched out the seat stays to fit the drop outs...
And the big big moment... doing my 1st miter on the seat tube (Tim calls this one the most forgiving miter and he is right)

I think that many of the lessons and techniques I have learned from wood working are carrying over into metal working very nicely.

bottom bracket, right side done (before finshing sanding)

bottom bracket, right side done (before finshing sanding)
the left socket is just starting to get ground, notice how thin the walls of the right socket have gotten. there is a lesson there and you will see in following pics!

grinding with a stone

grinding with a stone
it took a while with this stone but with the tight corners I had to use it because I only have one small sand paper bit left

ooh ahhh... a little sparks flyin

ooh ahhh... a little sparks flyin
That lesson I spoke of earlier is happening in this pic...

Ahhh... oh DOH!

Ahhh... oh DOH!
is that blueing? Yup that is the lesson that I learned on this socket. the grinding stone heats the metal very fast and as that wall gt thinner it started blueing. Bad, bad, bad! so I will have to sand and reshape that wall a little because I even got some chipping around the blue.

Chain stays with the drop outs notched in...

Chain stays with the drop outs notched in...
So this one was a little scary because I wasn't sure if I would get them straight and true... it ended up ok but I can do better.

Notching wasn't to hard but keeping everything even was hard

Notching wasn't to hard but keeping everything even was hard
I decided to try the bevel sides on the notch, I think I can do better so I may do the stays again?

The big moment... my first miter!

The big moment... my first miter!
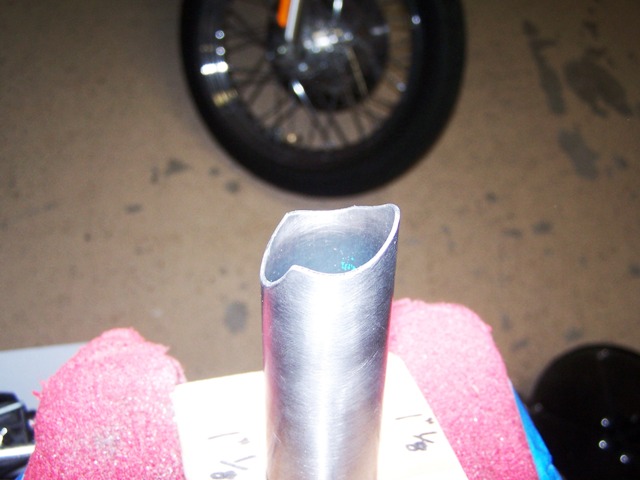
I should have taken some before during and after shots but this went pretty fast actually. this is the ruff cut, I rounded it out better and got rid of that hump on the back wall

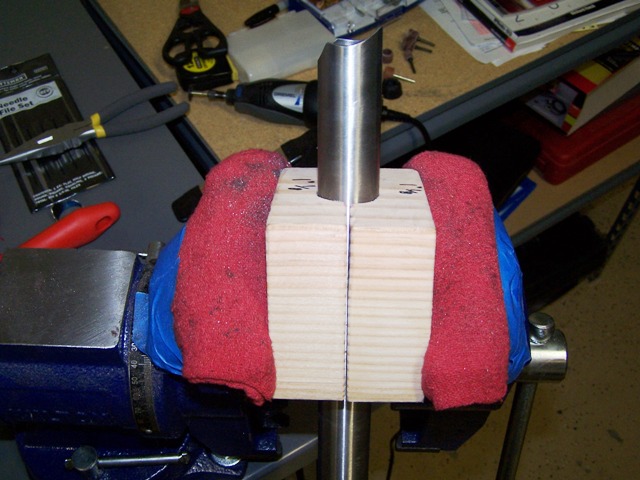
A little different angle... check out my home made tube holder... works like a charm!

A little different angle... check out my home made tube holder... works like a charm!
I am so proud of the wood block tube holder... now I just have to make the other sizes

A quick fit test...

A quick fit test...
Not bad forthe 1st miter and fit check... I only need to file the inside edges to match the bevel of the inside of the BB

Nother fit check after some finishing

Nother fit check after some finishing
still need to angle the inside of the edges then it is done and ready for finihsing before brazing. I also still need to finish the socket wall to clean up any uneven edges or tooling marks