Sunday, November 14, 2010

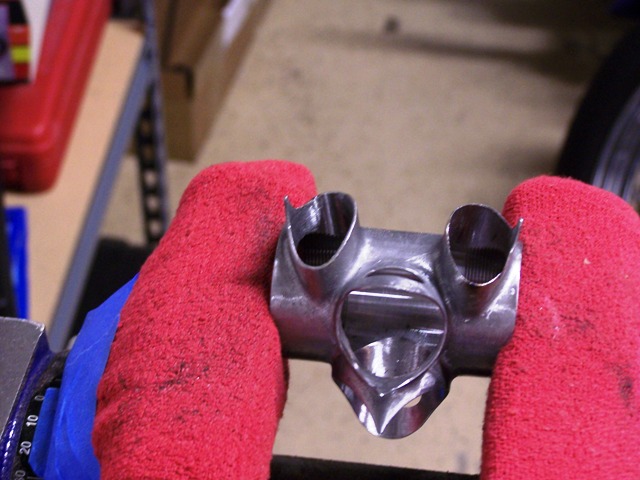
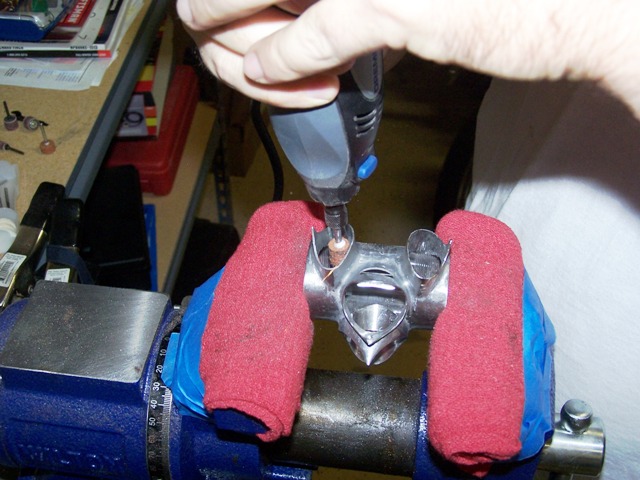
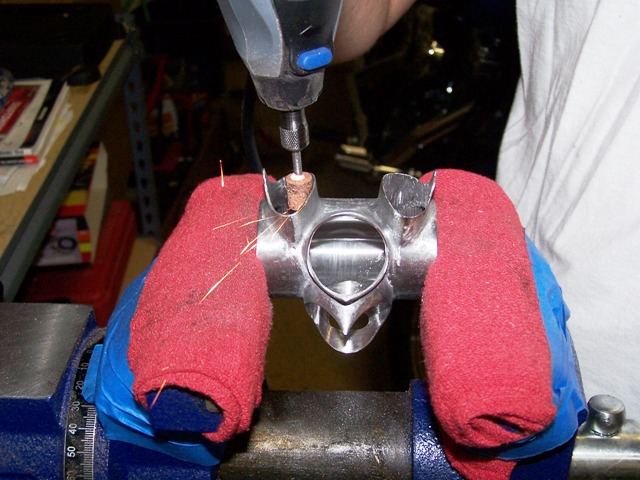
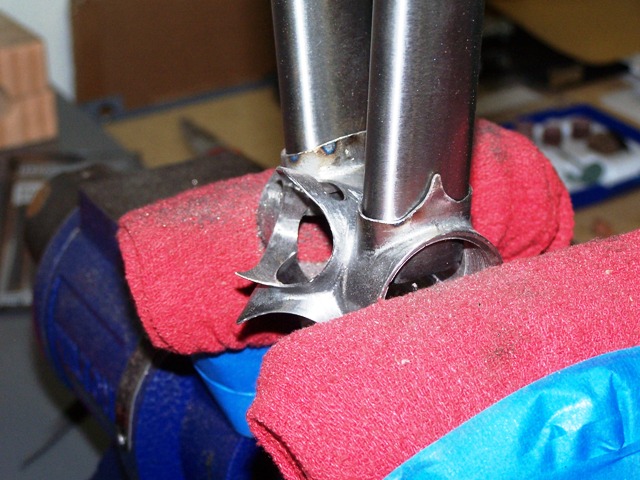
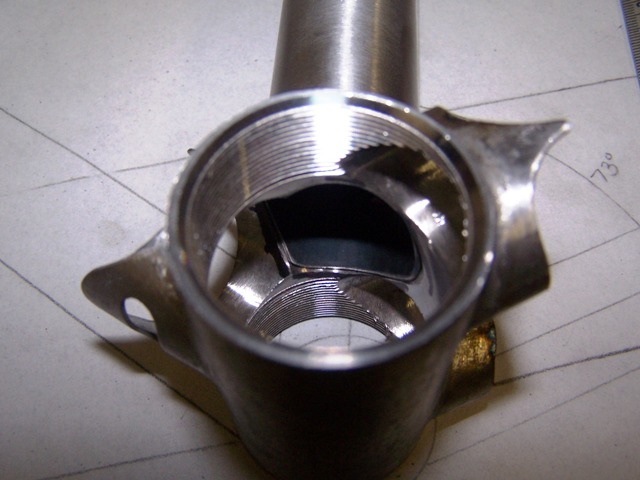
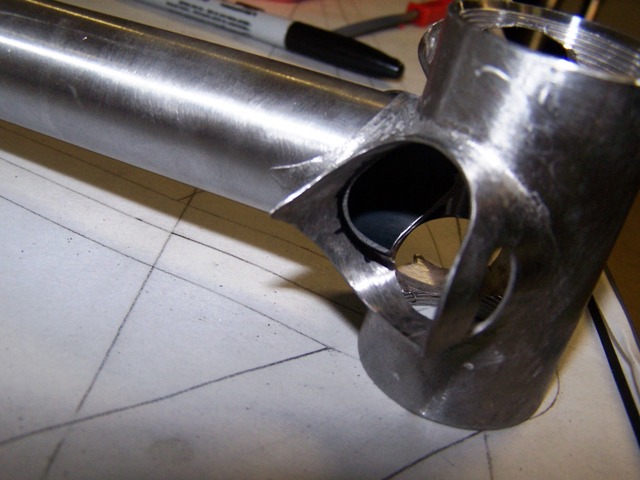
Here are the Lucid 29r close ups

Well I finally painted it and got out on a ride yesterday... it is absolute steel perfection! Buttery smooth ride and stiff as I like it to be...

I used a really nice Kustom Shop paint called HotRod Flatz, it is a flat black with a hardener in it so it doesn't need to be clear coated. It is more durable than most paints and clear coats and looks outstanding...
I did my logo and head badge in hot Flatz Red which looks killer, I think I will do a road frame in the red color.
Everything came out looking perfect, I think all the joints are just perfect.
Even though I will most likely only ever run it as a single speed, I put cable guides for gears just in case.
The Stainless Paragon sliders are nice, I used the aluminum drops for a little weight savings.


Ok now to pick up where I left off on Emily's polished lug road frame. I will try and post pics as I go with that.

Saturday, November 13, 2010

Christening of the Lucid 29r

Took me a while but I got it done and painted. I will post more pics of the production and painting along with some good close ups of the joints and what not tomorrow after I take the finished photos... without sounding to biased I think I did a spectacular job! all the joints look perfect.

Tuesday, June 22, 2010

Mark's Touring Fork...

This is a fork that Mark called me to build for his new Dean Ti frame. It's a straight leg, lugged touring fork with rack tabs for a custom rack.

Brazing the crown to the steerer...
Still hot!
Look at that nice fillet made by the silver inside the crown sockets...
Legs brazed in... still hot!
drop outs on, with a little clean up around the shores... check out the rack tab brazed on to the drop.
Nice and clean around the shores of the brazed areas... almost ready for paint.
Rack tabs, lined up 6.5 inches up from the drop out tabs.
Nice and straight and clean...
I figured I would skip some of the pictures of the paint steps and jump right to finished paint.
Behold;
Mark wanted it painted black with the lug cut outs painted in silver Titanium and the lug shores pin striped with titanium silver...

I had a lot of fun Building this one and Mark was a great customer to work with, I think he is going to love the ride.

Thursday, June 10, 2010

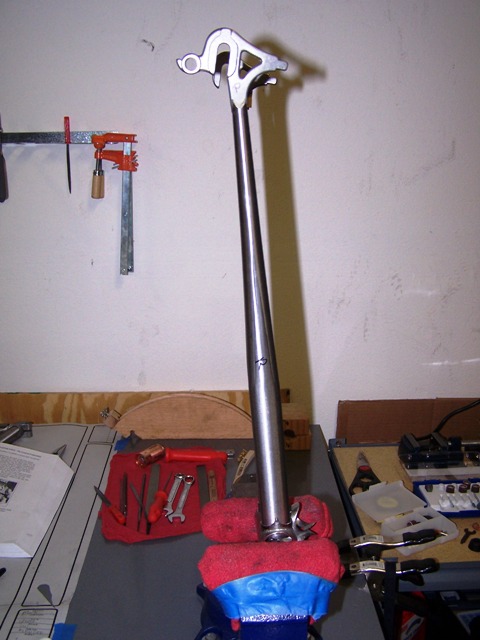
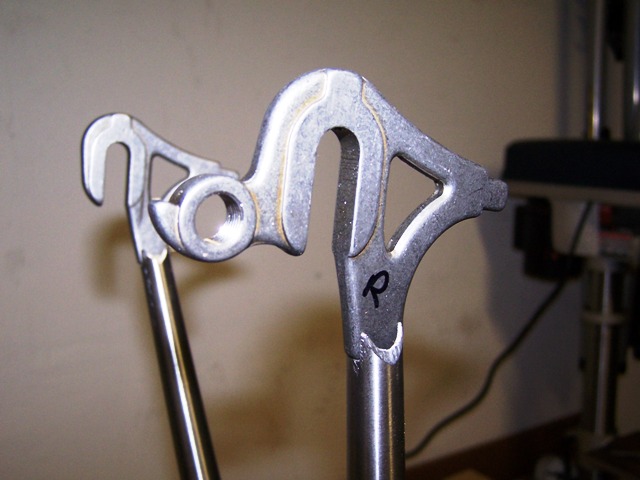
John's 0 degree fork for his Kunstrad bike...

This was an odd request but I really liked the idea and hope to see photo's of the final bike once John gets the fork.
Very simple really, this is a 0 degree fork... yep no rake at all. It is for a cool single speed Kunstrad bike (will add photo's later)

I have had nice results with this crown and since it needed to be an inch and an eight steerer this was basically our only choice.
I am really glad I came across these straight in drop outs, they look really cool on the fork.
Brazing the steerer to the crown...
scorching hot... Don't Touch!
Still Hot no touchy!
taking a bath to get the flux/glass off...
right out of the tank still wet...
Getting ready to do a test fit, after cutting the legs to size.
Quick loose fit, test fit... looks pretty square.

Checking the square on my new... well new to me, fork jig.
Fluxed and ready to braze.
Still hot, you can see a little scorching but not bad it dissolves off in the water during soaking so just means I got the flux a little to hot...
One of the many bath's the fork takes during the process...
Quickly going to brazing on the drops after the soak...

After a little clean up, here is the test fit... pretty darn straight.
A close up after some light filing and sanding...
Ready for paint after some little sand blasting...
It was hard to see the different stages of paint since the base coat was white and the paint is white. So here is just one shot in the paint "booth"

And a little out door photog...
I really like how these drop outs look... very modern.

little close up of the crown design...
And last but not least my stamp on the steerer "Lucid 6/10/10" #3 fork sold.

Friday, May 28, 2010

Debi's Fork

Well this was a pretty simple uni-crown fork that Debi asked me to make for her. I used stainless drop out inserts for a polished finish at the drops.
Below is before and after of the drops after removing the rack tabs and brazing on the stainless inserts...

Here are all the parts before assembly and brazing...
The drop outs fitted into the fork legs...

I went through 2 drill bits to finally get the crown drilled for the brake bolt...


here is my home made paint booth, it actually did such a good job I feel like I could paint a whole frame in it... but I think I will come up with a bigger booth for that...
The white above is the direct to metal primer coat... and the black below is the base coat for the deep black finish.

The final coat of black color before the clear coat goes on...
Here is the fork crown after clean up with the clear coat finish and the brake bolt installed...

The drop outs with a polished finish...
And lastly a few shots Debi took of the fork installed on here bike... Looks pretty good. I like the pencil thin fork legs, this fork looks fast!

Debi's mechanic said the fork went on with out a hitch... like it was built for the frame. Well... it actually was built for the frame.
Well I enjoyed making this fork and it looks like I have another one to build for a new customer.
I will update it soon.

The lessons I am learning are amazing and really fun to work out...

The pictures below are the work I did last night, finished grinding the bottom bracket sockets.
Notched out the seat stays to fit the drop outs...
And the big big moment... doing my 1st miter on the seat tube (Tim calls this one the most forgiving miter and he is right)

I think that many of the lessons and techniques I have learned from wood working are carrying over into metal working very nicely.

bottom bracket, right side done (before finshing sanding)

bottom bracket, right side done (before finshing sanding)
the left socket is just starting to get ground, notice how thin the walls of the right socket have gotten. there is a lesson there and you will see in following pics!

grinding with a stone

grinding with a stone
it took a while with this stone but with the tight corners I had to use it because I only have one small sand paper bit left

ooh ahhh... a little sparks flyin

ooh ahhh... a little sparks flyin
That lesson I spoke of earlier is happening in this pic...

Ahhh... oh DOH!

Ahhh... oh DOH!
is that blueing? Yup that is the lesson that I learned on this socket. the grinding stone heats the metal very fast and as that wall gt thinner it started blueing. Bad, bad, bad! so I will have to sand and reshape that wall a little because I even got some chipping around the blue.

Chain stays with the drop outs notched in...

Chain stays with the drop outs notched in...
So this one was a little scary because I wasn't sure if I would get them straight and true... it ended up ok but I can do better.

Notching wasn't to hard but keeping everything even was hard

Notching wasn't to hard but keeping everything even was hard
I decided to try the bevel sides on the notch, I think I can do better so I may do the stays again?

The big moment... my first miter!

The big moment... my first miter!
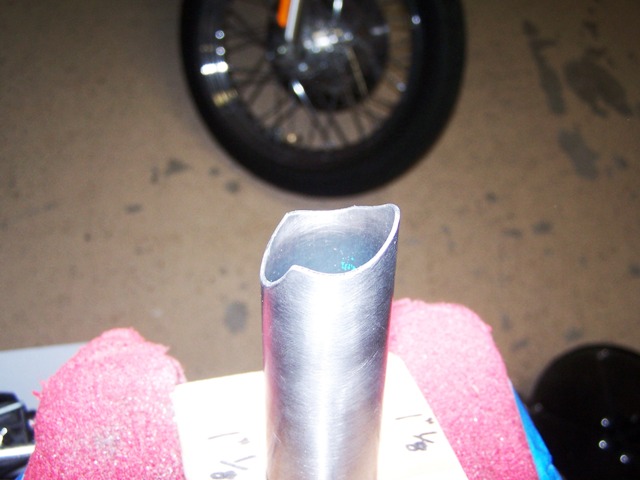
I should have taken some before during and after shots but this went pretty fast actually. this is the ruff cut, I rounded it out better and got rid of that hump on the back wall

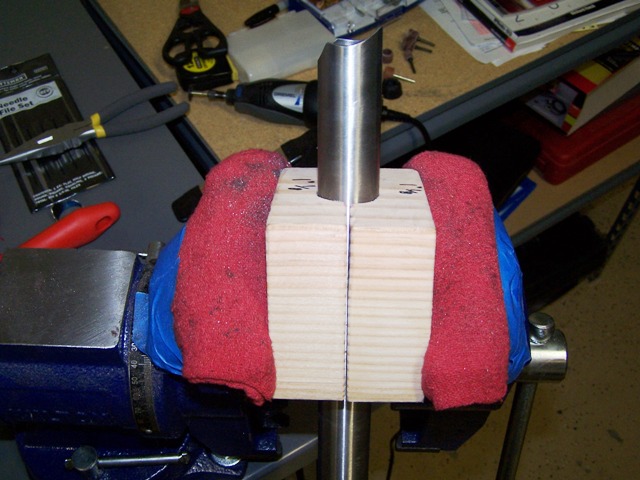
A little different angle... check out my home made tube holder... works like a charm!

A little different angle... check out my home made tube holder... works like a charm!
I am so proud of the wood block tube holder... now I just have to make the other sizes

A quick fit test...

A quick fit test...
Not bad forthe 1st miter and fit check... I only need to file the inside edges to match the bevel of the inside of the BB

Nother fit check after some finishing

Nother fit check after some finishing
still need to angle the inside of the edges then it is done and ready for finihsing before brazing. I also still need to finish the socket wall to clean up any uneven edges or tooling marks