Wednesday, November 26, 2008

Front triangle is done... mostly

Well I got a little discouraged last weekend... I thought I had the fork all jigged and straight but once I was done brazing and cleaned it up it was WAY off. I am not sure if I will try and fix it by reheating and taking the legs off, or just hang it on the wall as a reminder that anything can and will go wrong if I am not careful.
But I motivated myself to take my time and finish up the front triangle, I feel I am getting the feel for heat and being able to read the metal (even though the pictures don't show that). Last night I finished up a point on the head tube/top tube that didn't fill all the way in, but I realized how to recognize the metal temp and when it is approaching a critical temp... it's a cool feeling to know where that over heat line is and how close I am to it.


The seat clamp was a long preheat but I kept it pretty clean so I won't have too much extra clean up.


You can see here that the flux burned a little but it isn't as bad as it looks... I think it is more on the surface of the flux because it washed right off... but I have had a little more practice this week and I am way more comfortable with the temps.


The cable braze-ons were interesting because they moved just slightly which took them out of alignment but I am ok with it. My wife couldn't even see that they are out of alignment so I figured that is a good sign.


This week end I might be able to work a little on the rear triangle... but we will see.


Monday, November 17, 2008

Now for the fun part...

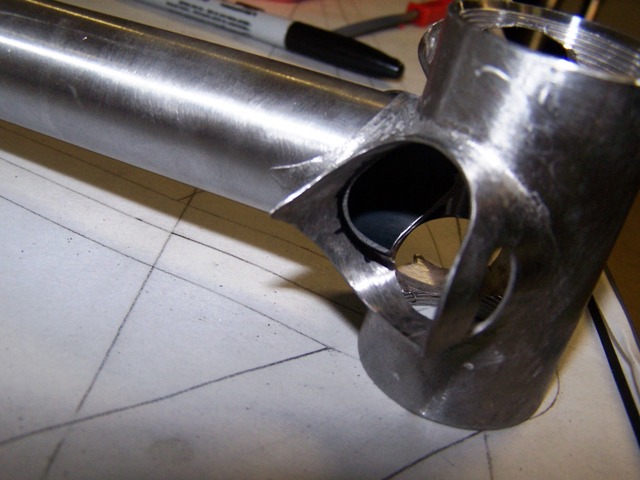
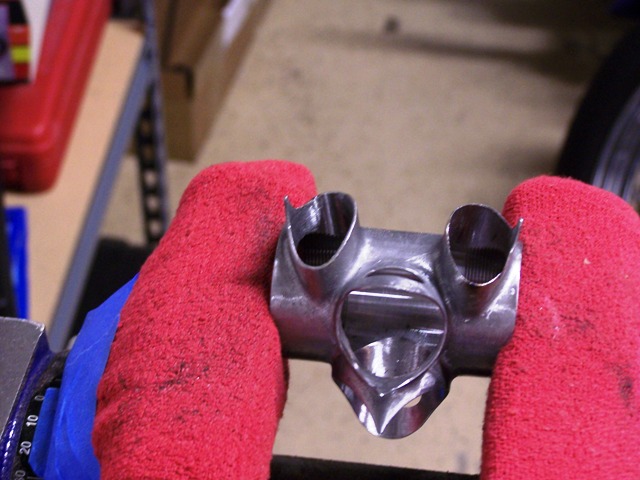
This was really exciting and absolutely scary as hell all at the same time... I decided even thought this is my first frame I wanted to do some nicer detail touches. So internal cable routing is one of them along with some other braze-on goodies.

After looking at some other builders designs and learning from what I could see in their production photo's I new to use internal brass tubing and braze in these ferels. I decided that I will try to do an internal fillet because there are some little gaps to fill since the angel of the ferels doesn't match the tubing cut/mitter very well. As you can see I loaded up the silver... I think it is either because I couldn't tell that the hole was filled or if the silver expanded a little after it cooled.

*** A side note*** take a look at the head tube... yeah it was the worst of all my joints because I wanted to make sure there was silver going into the mitter... but I also got some gaps in weird places... so I had to go back reheat and add silver... wow that is ugly!


So here I started to cut off the excess ferel to open up the inlet for the cable housing... I was very nervous because I really didn't know whatto expect.

More grinding and taking my time at that!


So after some filing and triming of the inside... it doesn't look to bad?


Well this was well worth the experience because I am more than happy with the outcome, even though the holes aren't the same size or length they do match up well enough that I will put braze-on internal cable covers and it will look spectacular. Don't get me wrong I want to leave these open because with paint on them you would barely be able to notice the the slight alingment issue... but with brased on covers over the holes I will be able to align them perfectly and symetrically. I will work on a way to match the holes up so they will be able to be left un covered to give a cleaner look.


I really wish I could get a shot if the internal fillet, it came out really nice.
I definately learned alot with this round of brazing, I also feel that filling gaps with 56% silver is much easier than working with brass rod. and I will really focus on taking my time in heating and watching the temps on the next round of brazing as well as keeping the silver in the right place. I did a little reading online and figured out a few things I was doing wrong and to help keep everything much cleaner. I eventually want to be able to braze well enough to just clear coat a frame and showoff the seams.

the ugly brazing...

So following the Paterek building plan I brazed the drop outs... even though they look pretty bad here the drops look pretty good with the basic clean up below.


The rear drops wen't pretty bad but I did recover from it pretty easily... I decided since I had large gaps to fill I would try using brass rod instead of silver... the one thing I forgot was the flux I had is for silver... so as you can see below I cook the flux pretty bad, I will know better next time.

the front drops after some basic clean up... I will use the dremel to clean out the little triangle on the lugs.


The black tar is actual hard as a rock and hard to remove...


After lots of dremel work they came out pretty decent... I will know what not to do next time. Even though it looks like I had to grind on the tubes... I didn't that is just file marks.


I wanted to show what the jig looks like...

So here are a few pictures of the home made jig to hold the bottom bracket to the seat tube and then the Head tube to the down tube.


Pretty simple; I used a 4 foot section of 1/4" angle steel, clamped it in the vice nice and square and plumb. Then set up a couple steel angle plates (used for fence building or joist anchors) clamped square then a long threaded bar (left long to use for the head tube when the front triangle is set up) with a hole saw cut in half acting as the BB cup/holder. and a v-block to keep everything as square as possible. It helped to stay on track with Patereks manual without spending money and time of fixtures.

Here you see the head tube/ down tube fluxed and ready to braze in the fixture... the fixture head up very well to brazing and I set it up to be as open as possible.


I didn't take any pictures yet of the head tube/ down toube after brazing but I will tell you that was the hardest so far and I had to go back and dump more silver in it to make look better. But I got good penetration and it stayed pretty plum and square.

Now for the Bottom Bracket to Seat tube

I fluxed all the joints that I was planning to braze at the same time, so same as before I still didn't flux far enough away from the joint to keep down the discoloration. I came up with a Jig that requires no machining and just clamps together and uses bolts for leveling. I will be able to use this jig for most of the sub assembly and rear triangle.


Below you will see I didn't do to bad with this joint almost all the way around got good silver penetration and I only overheated area that were very thin or not properly coated... not bad I would say I am getting better but I now what the next 5 joints already look like...


I definately realized why Richard Sachs puts so much flux on and coats every single part that will even get closed to heat... it aids in less clean up and keeps the metal in better condition.


Here I did some quick clean up after dinner and it looks pretty good... except the lobe of the lug between the chain stays... it got penetration but left a little gap at the tube and tip...


So I went back and reheated the tip of this lug and dumped way to much silver in it... but it still cleaned up pretty well.


Next is the head tube/ down tube...


The first brazing experience... starting with the fork crown

So I started my first brazing... it's amazing how much I learned from reading and watching video's on youtube. I started by fluxing the joint and holding it in a vice for the brazing.


As you can see below I overheated the crown a little and didn't cover far enough away from the joint to keep the steel from discoloring. Beleive it or not this joint came out perfect with only a couple little spots of excess silver.


Now onto the fixturing and brazing of the BB/ST and HT/DT...

Friday, November 14, 2008

Getting close to the first couple brazing joins...


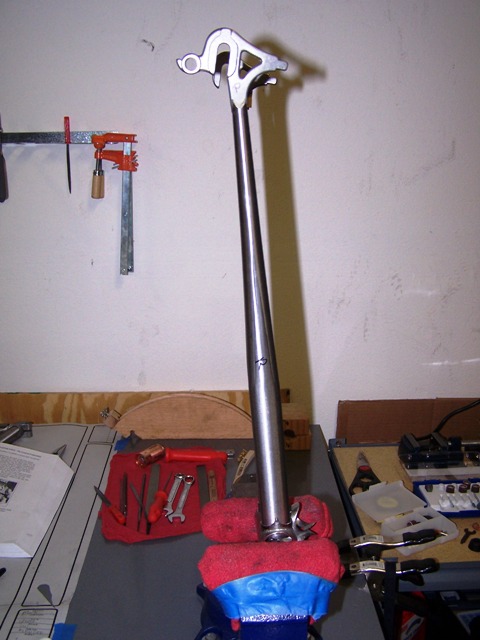
Last night I worked on the fork; cut it to length by taking about 2 inchs off the upper leg and about a half inch of the lower leg. comparing it to a really tight carbon race fork, it will have about a 1/4 inch more room between tire and crown all the way around the tire. I prefer this fit incase I want to ever put fenders on (they would still need to be speed fenders as I am not putting eyelet braze-ons on)
I also mitered the steerer tube to fit the profile of the crown but I will still need to file off about 2mm once I am done brazing.
After lining everything up my big concern here is making sure the legs are parrallel to each other after brazing because they both rock back and forth a little bit. I am think of pinning them and then tack brazing then first to insure as little movement as possible. I also need to come up with a couple C clamps to hold the tips of the lugs flat to the tubes for brazing.
More to come after tonight because I will be brazing tonight and tomorrow... I will get lots of pictures of that.

The lessons I am learning are amazing and really fun to work out...

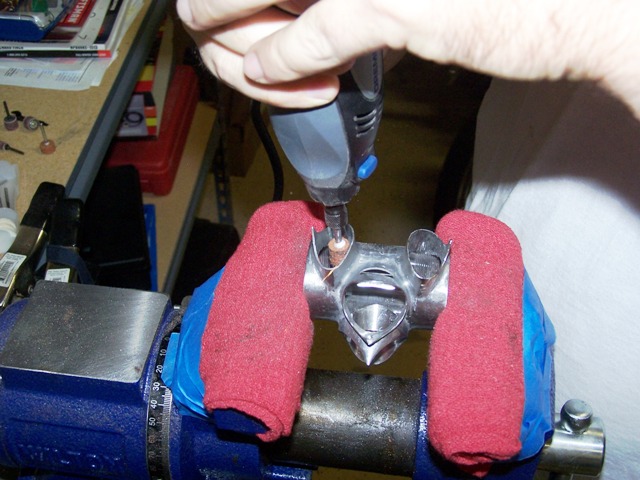
The pictures below are the work I did last night, finished grinding the bottom bracket sockets.
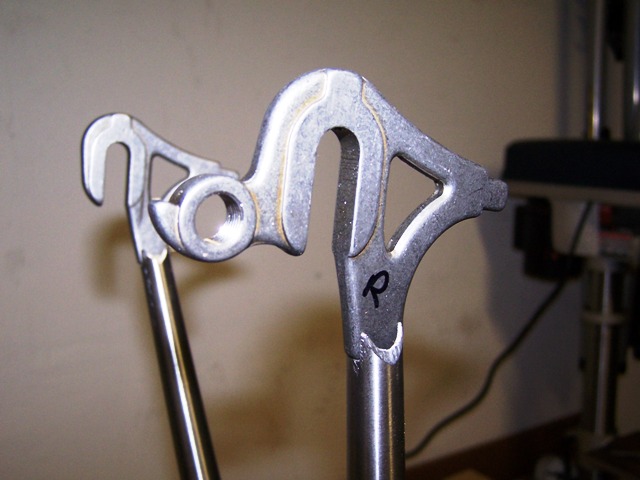
Notched out the seat stays to fit the drop outs...
And the big big moment... doing my 1st miter on the seat tube (Tim calls this one the most forgiving miter and he is right)

I think that many of the lessons and techniques I have learned from wood working are carrying over into metal working very nicely.

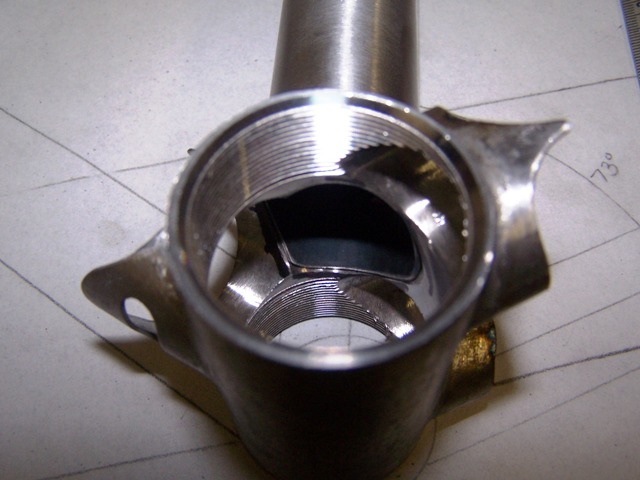
bottom bracket, right side done (before finshing sanding)

bottom bracket, right side done (before finshing sanding)
the left socket is just starting to get ground, notice how thin the walls of the right socket have gotten. there is a lesson there and you will see in following pics!

grinding with a stone

grinding with a stone
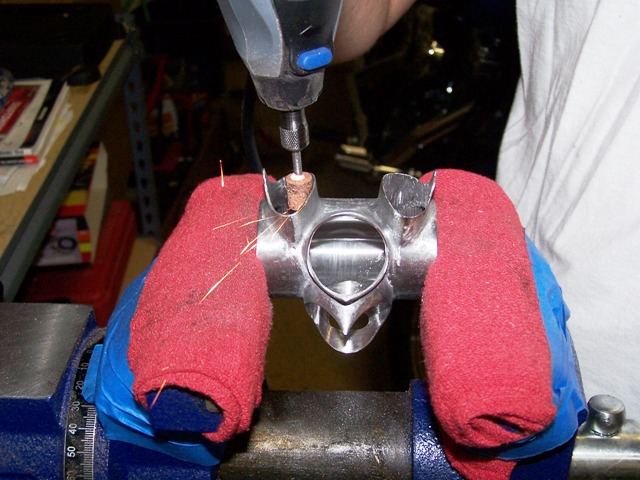
it took a while with this stone but with the tight corners I had to use it because I only have one small sand paper bit left

ooh ahhh... a little sparks flyin

ooh ahhh... a little sparks flyin
That lesson I spoke of earlier is happening in this pic...

Ahhh... oh DOH!

Ahhh... oh DOH!
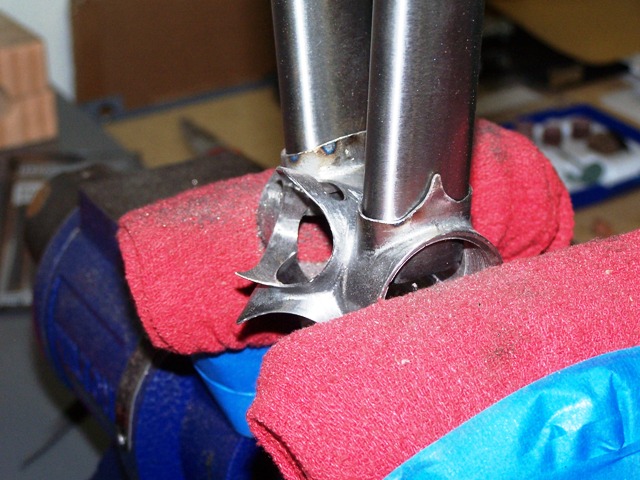
is that blueing? Yup that is the lesson that I learned on this socket. the grinding stone heats the metal very fast and as that wall gt thinner it started blueing. Bad, bad, bad! so I will have to sand and reshape that wall a little because I even got some chipping around the blue.

Chain stays with the drop outs notched in...

Chain stays with the drop outs notched in...
So this one was a little scary because I wasn't sure if I would get them straight and true... it ended up ok but I can do better.

Notching wasn't to hard but keeping everything even was hard

Notching wasn't to hard but keeping everything even was hard
I decided to try the bevel sides on the notch, I think I can do better so I may do the stays again?

The big moment... my first miter!

The big moment... my first miter!
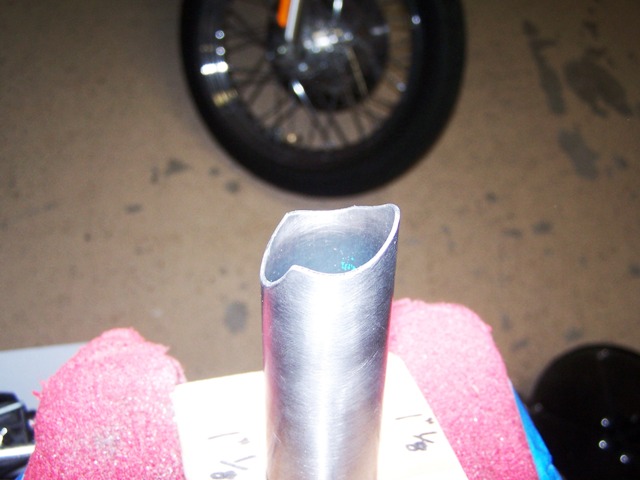
I should have taken some before during and after shots but this went pretty fast actually. this is the ruff cut, I rounded it out better and got rid of that hump on the back wall

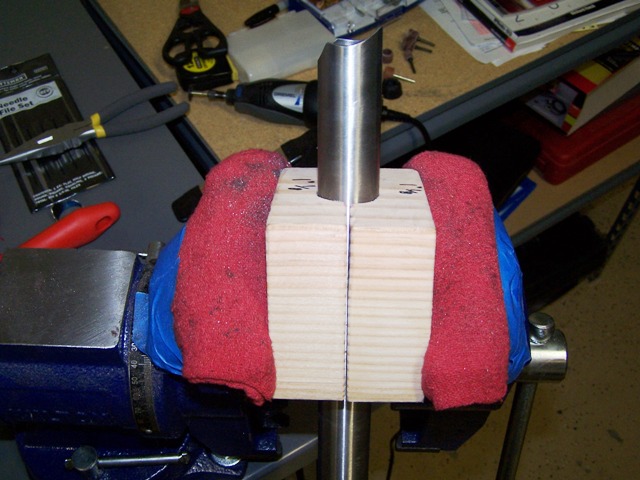
A little different angle... check out my home made tube holder... works like a charm!

A little different angle... check out my home made tube holder... works like a charm!
I am so proud of the wood block tube holder... now I just have to make the other sizes

A quick fit test...

A quick fit test...
Not bad forthe 1st miter and fit check... I only need to file the inside edges to match the bevel of the inside of the BB

Nother fit check after some finishing

Nother fit check after some finishing
still need to angle the inside of the edges then it is done and ready for finihsing before brazing. I also still need to finish the socket wall to clean up any uneven edges or tooling marks